Reference
https://blog.csdn.net/zong596568821xp/article/details/92790502
https://blog.csdn.net/u014303844/article/details/80394101
一些关于nginx的常见操作:
https://kalacloud.com/blog/how-to-install-nginx-on-ubuntu-20-04/
nginx rtmp配置相关官方手册:
https://github.com/arut/nginx-rtmp-module/wiki/Directives#server
比较全的中文可参考conf文件内容解析
https://www.jianshu.com/p/15316e0f3de1
因为业务上需求需要将流拉下来处理后转为其他流推送出去,之前的博客内容涉及到的是rtsp流的处理,这次利用nginx服务器转发推rtmp流。(拉流后可以进行任何图像处理)
操作环境:Ubuntu 20.04 + python3
Nginx服务器搭建
因为要将处理过的图片串成rtmp码流,因此,需要搭建一个rtmp服务器,常用的方案是Nginx服务器。
安装依赖
sudo apt-get install openssl libssl-dev
sudo apt-get install libpcre3 libpcre3-dev
sudo apt-get install zlib1g-dev
安装nginx
首先下载nginx:
http://nginx.org/en/download.html
选择稳定版本即可,比如http://nginx.org/download/nginx-1.22.0.tar.gz
以及nginx-rtmp-module:
git clone https://github.com/arut/nginx-rtmp-module.git
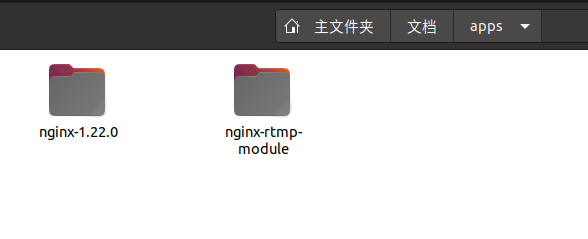
将两者放在同级目录的文件夹下:
之后进入nginx的文件夹,依次运行指令进行编译:
./configure --add-module=../nginx-rtmp-module
make
sudo make install
安装后的一些信息:
nginx安装目录 /usr/local/nginx nginx配置目录 /usr/local/nginx/conf/nginx.conf nginx运行目录 /usr/local/nginx/sbin/nginx –options
运行指令启动nginx:
sudo /usr/local/nginx/sbin/nginx
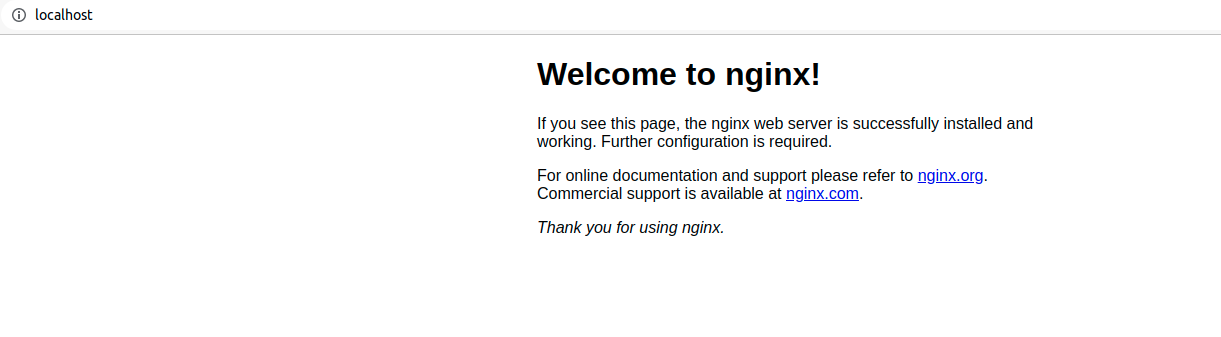
在浏览器中输入localhost,若看到如下画面,表示运行成功
配置nginx用于推流转发
可以采取vim或者vscode进行编辑
这里采用vscode,首先运行
code /usr/local/nginx/conf/nginx.conf
接着找到对应位置进行填充:
#地址为 /usr/local/nginx/conf/nginx.conf
#注明:请勿直接覆盖原来的conf文件,这只是部分有关直播的内容
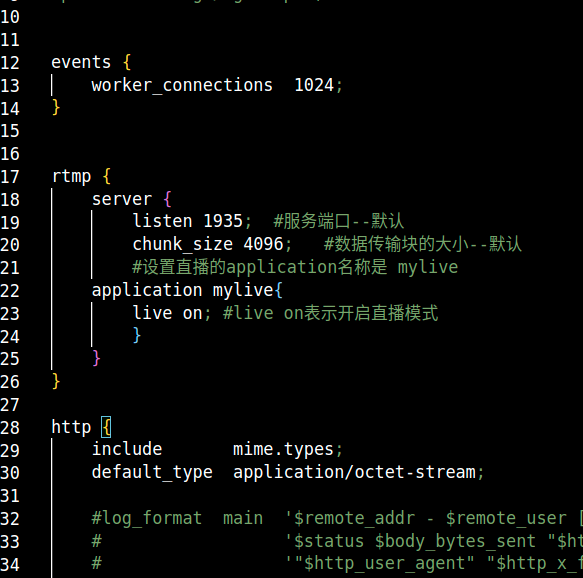
#配置RTMP,这个配置格式在github的readme上有详细说明
rtmp {
server {
listen 1935; #服务端口--默认
chunk_size 4096; #数据传输块的大小--默认
#设置直播的application名称是 mylive
application mylive{
live on; #live on表示开启直播模式
}
}
}
#请在http里面找到server
http{
...#这里有一些其他的配置
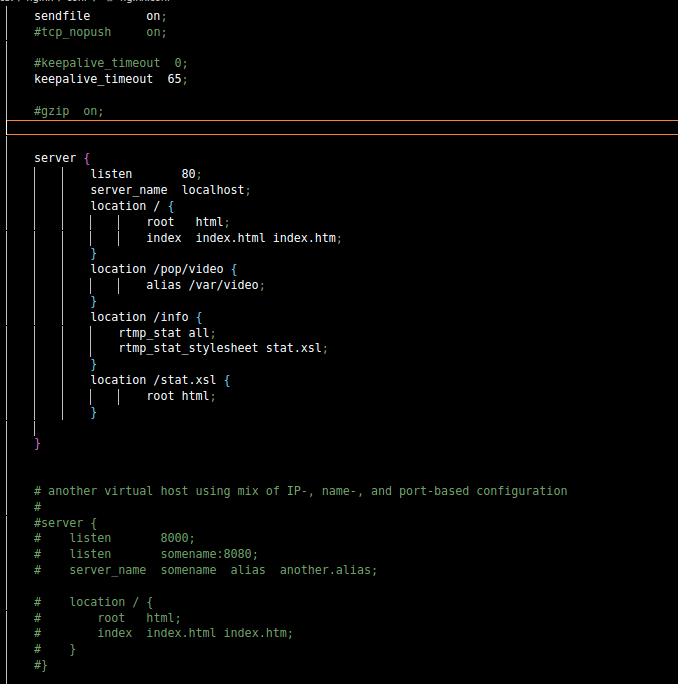
#复制粘贴这个替换原来的server
server {
listen 80;
server_name localhost;
location / {
root html;
index index.html index.htm;
}
location /pop/video {
alias /var/video;
}
location /info {
rtmp_stat all;
rtmp_stat_stylesheet stat.xsl;
}
location /stat.xsl {
root html; #这里可以进行一个替换
}
}
如图所示:
配置完之后,需要重启nginx
sudo /usr/local/nginx/sbin/nginx -s reload
接下来配置服务器的监控信息显示,修改之前server的一个路径信息,把这个路径改成开头下载好的module的绝对路径(因为那里面有个stat.xsl):
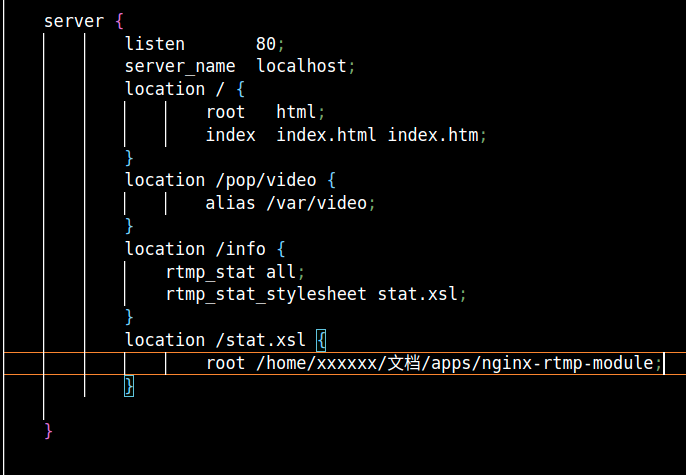
保存后重启nginx,然后然后在浏览器中输入localhost/info可看到如下界面:

至此,完成了rtmp-nginx服务器的全部配置
推流代码部分
import cv2
import subprocess

rtsp = "随便选个视频源测试"
rtmp = 'rtmp://localhost:1935/mylive/test'

# 读取视频并获取属性
cap = cv2.VideoCapture(rtsp)
size = (int(cap.get(cv2.CAP_PROP_FRAME_WIDTH)), int(cap.get(cv2.CAP_PROP_FRAME_HEIGHT)))
sizeStr = str(size[0]) + 'x' + str(size[1])
print("sezie is\n",sizeStr)
command = ['ffmpeg',
    '-y', '-an',
    '-f', 'rawvideo',
    '-vcodec','rawvideo',
    '-pix_fmt', 'bgr24',
    '-s', sizeStr,
    '-r', '15',
    '-i', '-',
    '-c:v', 'libx264',
    '-pix_fmt', 'yuv420p',
    '-preset', 'ultrafast',
    '-f', 'flv',
    rtmp]

pipe = subprocess.Popen(command
    , shell=False
    , stdin=subprocess.PIPE
)

while cap.isOpened():
    success,frame1 = cap.read()
    # print(frame1.shape())
    if success:
        #=================进行一些图像处理=================
        frame = cv2.rectangle(frame1,(50,200),(900,400),[0,255,255],2)
        #=================进行一些图像处理=================
        if cv2.waitKey(1) & 0xFF == ord('q'):
            break
        pipe.stdin.write(frame1.tostring())

cap.release()
pipe.terminate()
运行上述代码,然后在nginx服务器info上可查看推流情况
之后用ffplay或者VLC等客户端软件即可查看推流视频
可能遇到的坑:
推送时的fps选取要和源相近,不要自己随意跳帧。。。。否则speed会很奇葩的延迟。以1.0左右为准。
快速重启可以写一个shell:
echo 你的sudo密码 | sudo -S /usr/local/nginx/sbin/nginx
xdg-open http://localhost/info